
Gutenberg is WordPress’s block editor. WordPress made it the default in version 5.0 in December 2018, replacing the classic editor. Each paragraph, image, or heading you add is a block, and you arrange blocks to create a page.
This tutorial walks through the steps in order: opening the editor, adding blocks, arranging a page, reusing patterns, and using the site editor for headers and footers. To restore the classic editor, read how to disable Gutenberg. To compare it with a page builder, read Gutenberg vs Elementor.
What the block editor is, and what it costs
The block editor is built into WordPress. It has been included in core WordPress since version 5.0, and is also known as the WordPress editor or Gutenberg editor. Nothing needs to be installed to use it.
A Gutenberg plugin is available too. WordPress says each release includes stable features from the plugin, which means installing it is not required. The plugin provides the newest features for block and full site editing, including experimental features still in active development, so most site owners can skip it.
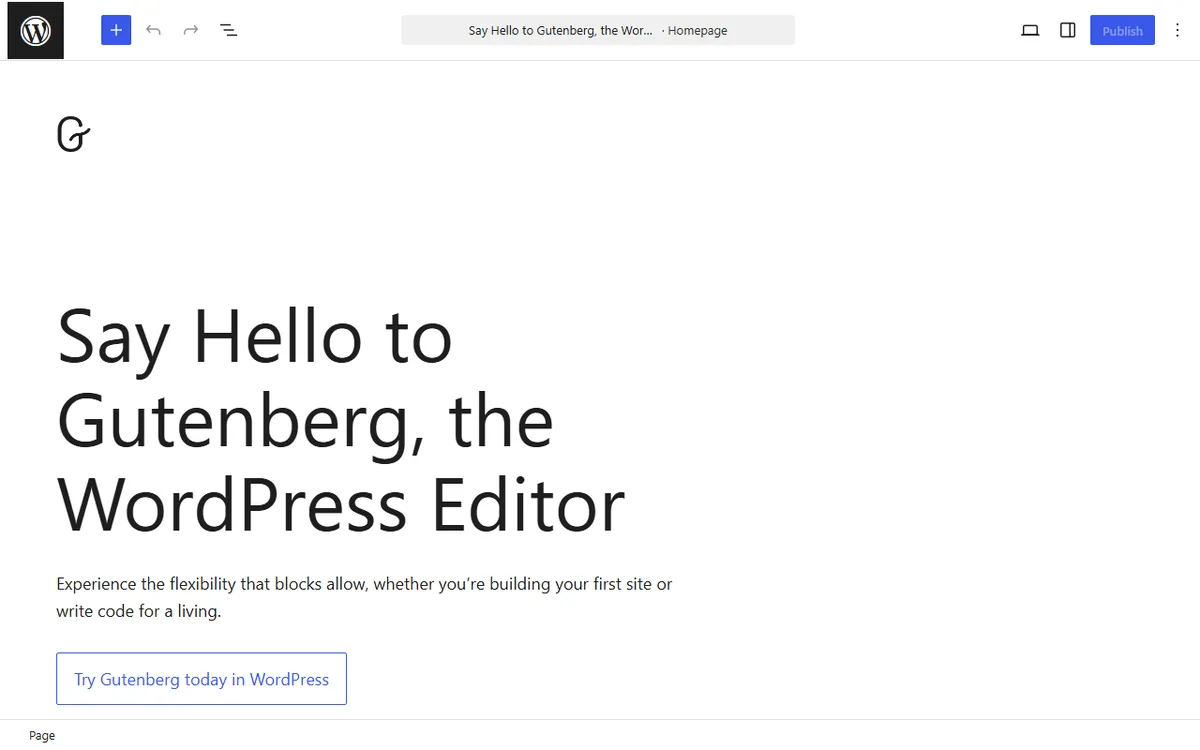
Your first page with blocks, step by step
- From your WordPress dashboard, select Pages > Add New (or Posts > Add New for a blog post). The block editor will open.
- Select the Block Inserter (+) icon in the top toolbar, the blue plus button at the upper left of the screenshot above, or the Add block (+) icon in the content area. You can also type
/in the content area to search for a block by name. - Look through blocks by category or search for a name, then select a block to add it. Another option is to drag a block into the editor.
- To use the slash command, start a new paragraph by pressing Enter or Return, then type a forward slash followed by a block name, such as
/imageor/heading. - To move a block before or after another block, select it, click the three-dot icon on its toolbar, then choose insert before or insert after.
- Save or publish the page once it is ready.
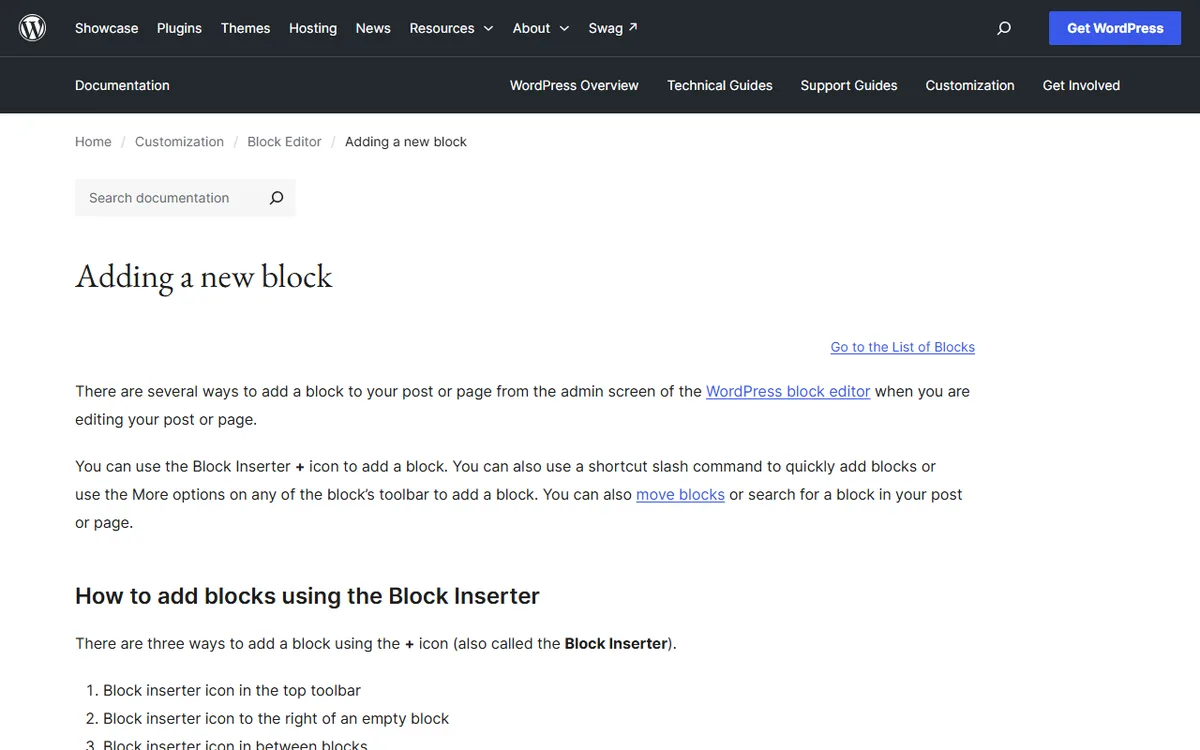
Each piece of content is a separate block, whether it is a paragraph, an image gallery or a headline. Blocks can be added, organized and rearranged. That is the whole idea, and the rest of the editor is built around it.
For a practice page, add blocks in this order: a Heading block for the title, a Paragraph block, an Image block, a Columns block, and then a pattern from the Patterns tab. The next sections explain how each works.
Blocks you will use most
WordPress documents blocks for common content, including paragraphs, images, headings, lists, videos and galleries. In the inserter, they are grouped into categories such as Text, Media, Design, Widgets, Theme and Embeds.
For a simple page, begin with a Heading block for the title, followed by Paragraph blocks for text and an Image block for a picture. The Design category includes blocks for structure, such as Buttons, Separator, Spacer and More.
If a block you need is missing, the inserter can search the block directory if WordPress does not include a matching block. It can then display third party blocks to install, but only when your user account is allowed to install plugins.
Layouts: columns, groups and patterns
WordPress's Design blocks include Columns, Grid, Group, Row and Stack. Use Columns to place content side by side, and use a Group, Row or Stack to contain several blocks. To add blocks inside a nested Group, Row or Stack, select it and click the Block Inserter (+) at the bottom right of the group.
Columns, step by step
- Add the block. In a new Paragraph block, type
/columnsand press Enter, or look for Columns in the Block Inserter. - Choose a layout variation to begin. If you select Skip, the block begins with 50/50 columns. You can change the number of columns or add more later in the block settings.
- Use the Columns slider or number field in the Settings tab to change the number of columns. You can set 1 to 6 columns. To add a column in a particular spot, hover between two columns and select the Add column (+) button.
- To adjust one column's width, select its Column block and change the width in the block settings. Supported units are px, %, em, rem, vw and vh. List View can help you locate and select the Column block.
- Choose how it works on small screens. Stack on mobile is on by default, so columns appear vertically on smaller screens. Turn it off to keep them side by side.
You can group blocks you already have, too. Select multiple blocks and group them to handle them as one unit that you can edit, format or move together. You can ungroup them whenever you want. When multiple blocks are selected, Ctrl + G on Windows or Command + G on Mac creates a group.
Patterns save time
Patterns are ready made groups of blocks that form a section you can add to a page. To use a pattern, click the + icon in the top toolbar, open the Patterns tab, choose a category or click Explore, then click a pattern or drag it into your content. The Patterns tab displays collections such as Featured, Call to Action and Pages.
A synced pattern can be used again on multiple posts or pages, and any changes appear everywhere the pattern is used. With an unsynced pattern, you can edit each copy on its own. Since WordPress 6.3 you can create your own: select blocks, open the three dot menu, choose Create pattern, enter a name, turn on Sync if you want it, and click Create.
The site editor: headers, footers and templates
The Site Editor allows you to design the entire site, including its header and footer, using blocks. It is available only after you install and activate a block theme, which uses blocks for every part of a site, including navigation menus.
- Go to Appearance > Themes, then click Add New.
- On the Add Themes page, choose Block Themes, then install and activate a theme.
- Open the Site Editor by going to Appearance > Editor.
Starting with version 6.3, you can also manage, edit and create pages under Pages in the Site Editor. Every block in the regular editor works in the Site Editor, while theme blocks are designed specifically for it. Full site editing arrived with WordPress 5.9 in early 2022.
Your role matters. If you have Editor permissions, the Edit template and Add template options are unavailable, so you may need an administrator account to change templates.
Where the block editor stops
The block editor is for pages and posts. With a block theme, the Site Editor expands it to the whole site, including the header, footer and navigation menus. Before you start, it is useful to know three limits.
- The Site Editor is available only with an installed and activated block theme, so it cannot be used with a classic theme.
- Editor permissions do not include the Edit template and Add template options, so change templates with an administrator account.
- Only users allowed to install plugins can search the block directory for third-party blocks.
Add a page builder only if these limits become a problem. One common example is a classic theme where you still want to design headers and footers, or a page that needs more layout control than the core blocks provide. Compare the main option in Gutenberg vs Elementor, read Elementor free vs Pro, or explore the overview of WordPress page builders.
Shortcuts and settings worth knowing
- List View: click Document Overview, the three horizontal lines at the top left beside undo and redo in the screenshot, to view all blocks in a structured outline. Use it to select, move, and group nested blocks, or drag blocks within the List View sidebar.
- Open List View with the keyboard: press Shift + Alt + O on Windows or Ctrl + Option + O on Mac.
- All shortcuts: press Shift + Alt + H, or Ctrl + Option + H on Mac, to view the complete list.
- Command Palette: press Ctrl+K on Windows or Cmd+K on Mac to open it.
- Select many blocks: use Shift + click, or Cmd/Ctrl + A to select all blocks when you are not editing text.
- Hide a block: select it, then press Shift + Ctrl + H on Windows or Shift + Command + H on Mac. Hidden blocks are marked with an eye icon in List View.
- Outline tab: displays the character count, word count, reading time and heading structure.
- Settings sidebar: the tab is called Post or Page based on what you edit, and Template in the Site Editor.
When you feel comfortable, try the broader guide on building a WordPress site to plan pages, menus and hosting.
Sources
- WordPress Block Editor (official documentation)
- Adding content with blocks / making a page
- Block Editor FAQ in the developer docs
- Gutenberg plugin
- How to insert blocks
- Design Blocks (Group, Row, Stack, Buttons, Columns)
- Block patterns
- wordpress.org: Columns block
- Block editor keyboard shortcuts
- Site Editor
- Sidebar for settings
- View list
Frequently asked questions
What is the Gutenberg block editor?
This is the WordPress editor in which each content item is a block. WordPress 5.0 set it as the default editor in December 2018, replacing the classic editor.
Do I need the Gutenberg plugin?
No. WordPress says every release includes stable Gutenberg features, which means installing the plugin is optional. The plugin provides the newest features, including experimental ones.
How do I add a block?
Select the plus icon in the top toolbar or content area, or type a slash followed by a block name, such as /image, in a new paragraph.
What is the Site Editor and which themes support it?
The Site Editor designs the whole site with blocks, including header and footer. It is only available with a block theme, and you open it from Appearance > Editor.