
This guide walks through seven steps in order: picking a WordPress version, hosting, installation, choosing a theme, selecting an editor, adding the main pages and completing launch checks. By the end, your site will be live.
Step 1: Choose WordPress.org or WordPress.com
The table shows the main difference: who hosts the site and how much control you keep.
| WordPress.org | WordPress.com | |
|---|---|---|
| What it is | Free, open source software you install on your own hosting | A hosted service run by Automattic |
| Hosting | You choose and pay for it | Included in the plan |
| Plugins and page builders | Any you like | Depends on the plan |
| Best for | Full control and freedom to grow | A quick start with less maintenance |
This guide uses WordPress.org because it lets you choose any theme or page builder. If you prefer not to handle hosting, WordPress.com offers a simpler option.
Beginning with WordPress.com does not tie you down. To move later, export your content from the WordPress.com dashboard to an XML file, install WordPress on your new host, then import the file under Tools. HostingAdvice describes the move, including how to make the old site private or redirect its visitors.
Step 2: Get a domain name and hosting
Your domain is your web address, such as yourbusiness.com. Hosting is the computer that keeps your site and delivers it to visitors. Most hosts offer both together, and many include one-click WordPress installation in their control panel, taking care of the most technical step. If domain names are unfamiliar, ICANN's beginner's guides describe how registration works.
When comparing hosts, look for one-click WordPress installation to set up WordPress, automatic backups to restore your site after a bad update, a free security certificate that adds the browser padlock, and reachable support when you need help.
Step 3: Install WordPress
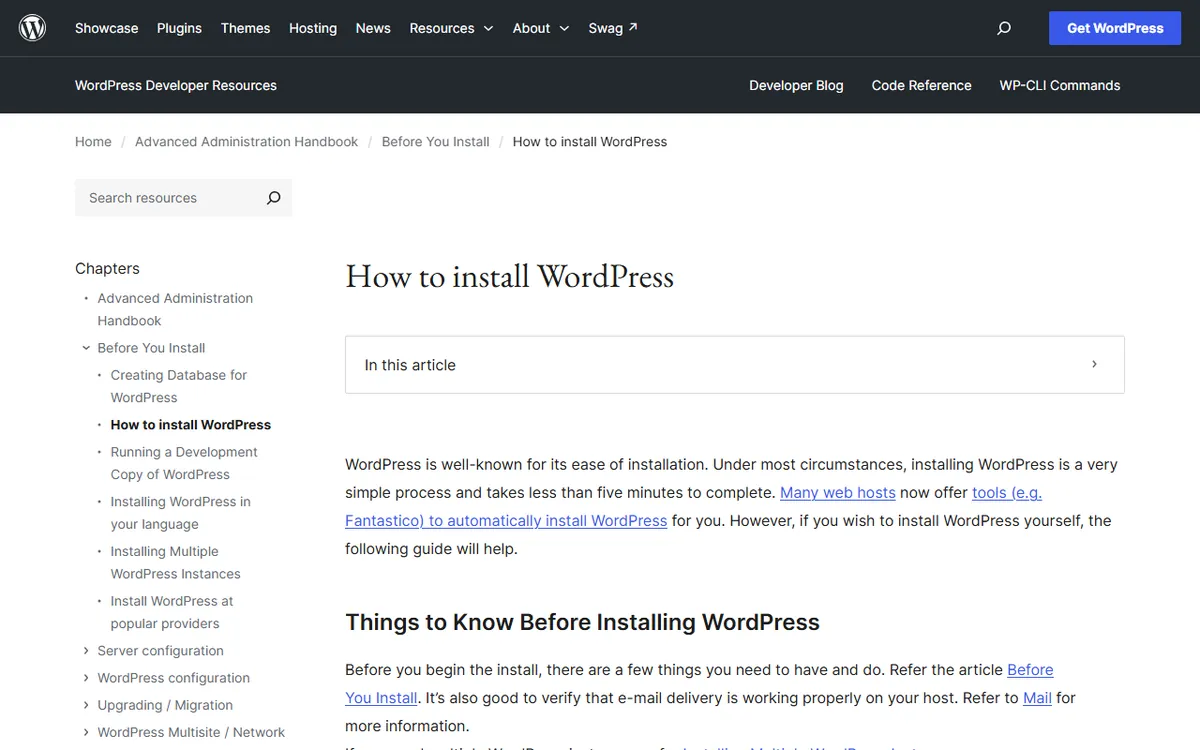
For one-click installation, select your domain, choose an admin username and password you do not use anywhere else, and keep the password in a safe place. Let the host handle the rest. If your host does not have an installer, WordPress provides a manual installation guide. After installation, go to yourdomain.com/wp-admin to log in to the dashboard.
Before creating anything, go to Settings and enter your site title, tagline and time zone. Then select a readable link format under Permalinks. The "Post name" option keeps addresses short and clear.
Step 4: Pick a theme
A theme sets your site's overall appearance, including fonts, colors, header and footer. From your dashboard, browse many free themes in the official theme directory by going to Appearance, then Themes. Pick a simple theme that loads fast and looks clean on a phone. Themes packed with features you will not use can slow your site down.
If you plan to use Elementor, its creators offer a free, minimal theme called Hello Elementor that is designed to work with their builder.
Step 5: Choose how you will edit pages
There are two solid ways to build pages without code:
- The block editor (also known as Gutenberg) comes with WordPress. You create pages using blocks like headings, images, columns and buttons. It is free and quick.
- A page builder like Elementor provides a visual, drag-and-drop editor that shows you how the page will look to visitors. Our Elementor hub explains it in depth, and our Elementor free vs Pro guide explains when the paid version is worth the cost.
Not sure which builder is right for you? Our WordPress builders section compares the main choices side by side.
Step 6: Build your core pages
Most small sites need the same five pages: a homepage, an about page, a page for your services or products, a contact page and a privacy policy. WordPress creates a draft privacy policy page that you can edit under Settings, then Privacy.
Write the text for each page before designing it. Visitors care more about clear information on who you are, what you offer and how to get in touch than any layout. With classic themes, add the pages to your main menu under Appearance, then Menus. With a block theme, manage navigation in Appearance, then Editor, then Navigation.
Use only the plugins you need, such as a contact form and a backup tool. A contact form lets visitors reach you without exposing your email address, and a backup tool lets you restore the site if an update breaks it. Each plugin is one more thing to update.
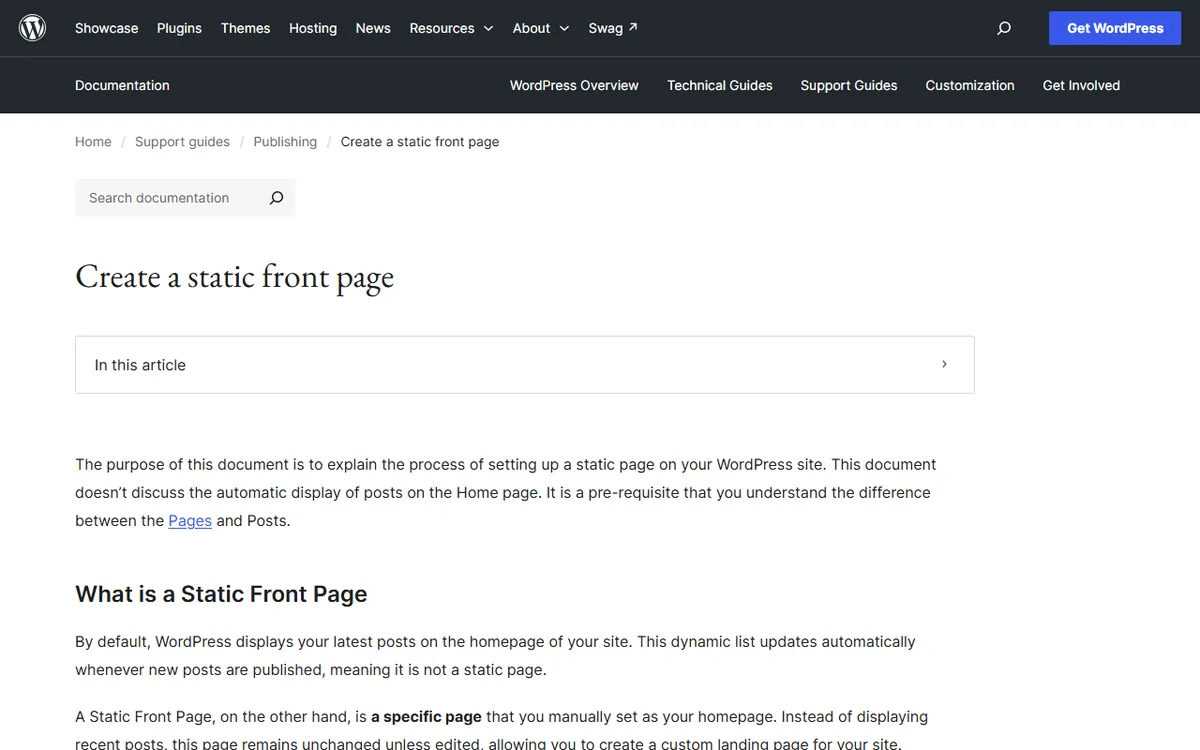
WordPress displays your newest posts on the homepage by default. To show a designed page instead, publish a page named Home and select it as the static front page under Settings, then Reading, as described in the WordPress documentation.
Example: a restaurant website with free plugins
A restaurant site shows what free plugins can do for WordPress. The Elegant Themes guide to restaurant websites creates one using three of them:
- Food and Drink Menu stores unlimited menus, with a photo and details for every dish, and lets you add them to any page with a shortcode. The guide lists a $25 Pro edition with custom icons, discount prices and specials.
- Business Profile displays the restaurant's name, phone number, email, address, opening hours and a Google Map with directions. It also adds Schema.org markup to help search engines understand those details. It supports just one location.
- Restaurant Reservations provides a booking form, emails guests to confirm or reject their requests, and lets you restrict the times available for booking.
Add a Gallery block for food photos by typing /gallery in the editor. The three plugins add the menu, opening hours, location and booking to the site without any code.
Step 7: Check everything and launch
- View every page on your phone and fix anything that looks crowded or broken.
- Send a test message using your contact form.
- Check your homepage with PageSpeed Insights and compress any large images it identifies.
- Give each page a clear title and description, as recommended in Google's SEO starter guide.
- Check that backups are running before sharing the address.
After launch, regularly update WordPress, your theme, and your plugins to keep the site secure and working. To keep learning, Learn WordPress offers free official courses.
Frequently asked questions
Is WordPress free?
The WordPress software from WordPress.org is free and open source. You still need to pay for a domain name and hosting to run it.
Do I need a page builder to make a WordPress website?
No. The built in block editor can create complete pages. A page builder such as Elementor gives you more visual control over the layout and design.
Can I build a WordPress website without coding?
Yes. With one click installation, a theme, and the block editor or a page builder, you can build and publish a full site without touching code.