
Choose a theme, customize it in the theme editor, set your brand, and create key pages, mainly the homepage, collection pages and product pages. Everything is done in your Shopify admin, where you can preview changes before they go live.
This guide covers the steps in order and includes the admin paths Shopify documents. Prices and features were checked against Shopify's help pages on 4 November 2026. For costs, see what a Shopify store costs.
Choose a theme that fits your products
A theme sets the layout for your entire store. Shopify's free collection currently has 24 themes, including Dawn, Horizon, Craft, Refresh, Studio and Publisher. Every theme Shopify lists is an Online Store 2.0 theme, so you can add sections to any page, not just the homepage. Horizon-family themes also support theme blocks, Shopify's newer building system.
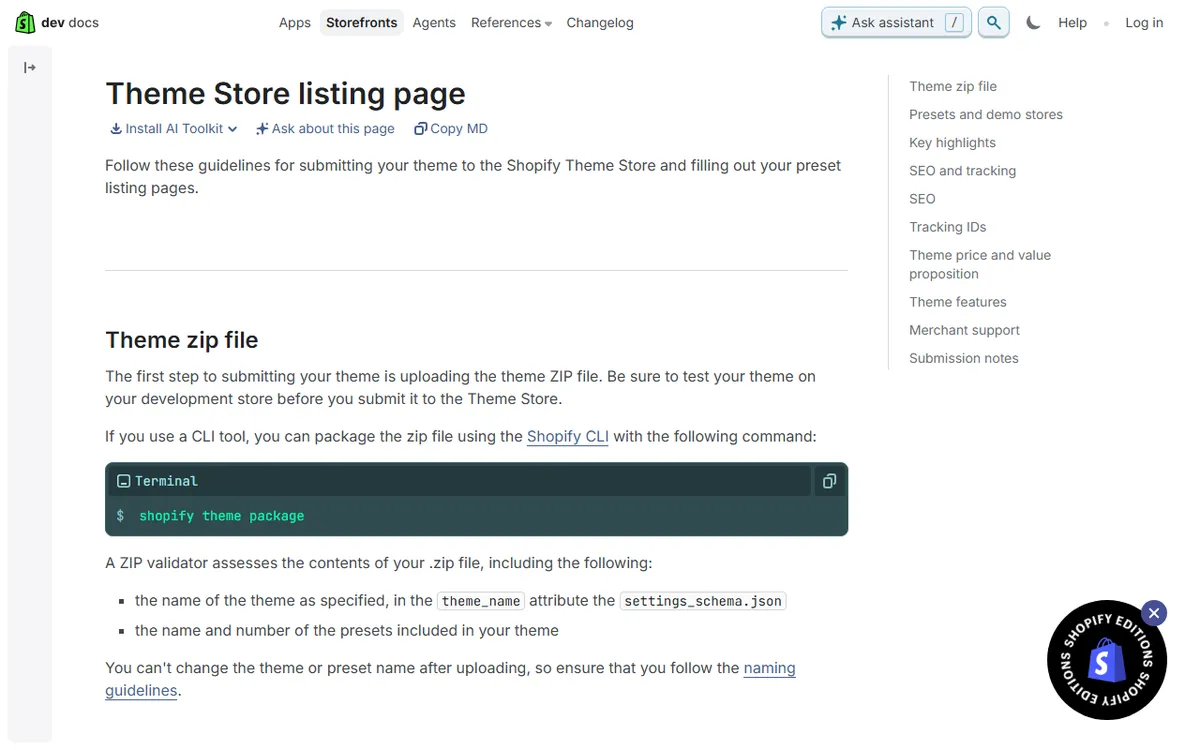
Premium themes are one-time purchases licensed to the store that purchased them. Shopify's Theme Store rules price them from $100 to $500. Eligible themes installed from the Theme Store receive free updates. That update process does not cover themes you upload or buy elsewhere.
A simple way to choose:
- Preview the theme using your own product photos instead of the demo images.
- See how it works with the size of your catalog, whether you have a few products or hundreds.
- View the preview on a phone, because most of your layout choices apply there as well.
- Start with a free theme. Pay only if it lacks a feature you need.
Add and test a theme without touching the live store
In the admin, select Online Store, then Themes. Select Add themes, then Visit Theme Store to browse. To get a free theme, add it to your library. To get a paid theme, select Try theme. You must buy a paid theme before publishing it.
Adding a theme to your library does not set it as your live theme. You can edit and preview it first, then publish it when you are happy. Your live store remains unchanged until then.
Use the theme editor and sections
Go to Online Store, then Themes, then Edit theme. The editor displays your store alongside a sidebar with sections. A section is a page band, such as a banner, a featured collection or a text block with an image. Within a section, blocks are smaller parts you can rearrange.
The basics:
- Choose the page you want to edit, such as the homepage or a product page.
- Add a section to insert a new band, then drag sections up or down.
- Select a section to change its text, images and links.
- Save, then preview on desktop and mobile.
Shopify added more features to the editor in 2025 and 2026, including nestable theme blocks, AI block generation and the option to create or edit some store resources from the editor. What you see depends on your theme, so check your own editor before planning around a feature.
Set your branding in theme settings
Go to Online Store, then Themes, then Edit theme, then Theme settings. This sidebar contains global options that apply throughout the store, including colors and typography. Social links appear here only in themes that have a social media setting. Otherwise, add them in a social media links block.
- Colors. Choose a small palette: one background, one text color and one accent for buttons. Make sure text is easy to read against each background.
- Fonts. Use no more than two, one for headings and one for body text.
- Logo and favicon. Add your logo and a favicon to help people recognize your store in browser tabs. These settings may be in different places depending on the theme.
In Theme settings, apply one palette, two fonts and one button style across the store. This helps each page read as part of one brand.
Build the pages shoppers rely on
Homepage
From top to bottom, show a banner saying what you sell, featured collections or best sellers, a short trust message and a link to your story. Avoid autoplay video, too many fonts and text with low contrast.
Collection pages
Organize products the way shoppers search, such as by use, type or price. Choose clear names because collection titles also show up in menus and search results.
Product pages
Show the essentials before shoppers have to scroll: photos, price, options and the add-to-cart button. Include a brief description with size, materials and care, along with shipping and returns information. Use sharp photos with consistent angles and backgrounds, and compress them for faster loading. Add alt text describing each image.
About, contact and policies
Shoppers check for these before they buy. On Shopify's Settings, then Policies page, you can write or manage return, privacy, terms of service and shipping policies. It also provides automated starter text for supported types. Use generated text as a starting point and review it for your business and legal needs.
Menus and footer
Keep the main menu brief, placing collections first and information pages in the footer. Add your policy links to the footer to make them easy to find.
Add search titles, descriptions and a domain
For your homepage, go to Online Store, then Preferences, and add the title and meta description under Social sharing image and SEO. To edit a product, page, collection or blog post, open it and update its Search engine listing.
You can start without a custom domain because Shopify provides a myshopify.com address. To connect your own domain, go to Settings, then Domains, then Connect existing domain, and enter the root domain without www. Activation may take up to 48 hours.
Check mobile, speed and apps before you launch
Check every important page on both a phone and desktop, and go through the entire buying process. Shopify displays a performance summary under Online Store, then Themes, and detailed reports under Analytics, then Reports. These reports use Core Web Vitals, with good scores defined as an LCP of 2.5 seconds or less, an INP of 200 milliseconds or less and a CLS of 0.1 or less. Shopify measures the 75th percentile, so at least 75 percent of page loads must have good scores on all three.
Apps can provide extra design features, but the Shopify App Store has more than 16,000, and many have separate charges for subscriptions, usage or one-time purchases. Add apps individually, and review the billing terms on each listing. Our guide to improving Shopify store speed explains how apps and images affect loading times.
The editor covers most design work at no extra cost. Hiring a Shopify Partner makes sense only for features the editor lacks. Shopify's agency guide gives a range of roughly $5,000 to $10,000 for a basic agency build. Find a Partner in Shopify's Partner Directory.
Launch checklist
- Pick a theme and preview it with your actual products.
- Choose colors, fonts, logo and favicon in Theme settings.
- Create the homepage, collections, product pages, About and contact pages.
- Add policies, menus and a footer.
- Create search titles and descriptions.
- Test mobile, speed and the full checkout.
- Link your domain and publish the theme.
Shopify offers Sidekick, an AI assistant, and an AI Store Builder, which creates a storefront from a business description. Use either to make a first draft, then review it in the editor. To explore a broader range of platforms, see our website builder guides.
Sources
- Shopify free themes (list of free themes)
- Shopify theme architectures (Online Store 2.0, theme blocks)
- Theme Store listing requirements (premium price range)
- Updating themes (theme updates)
- Adding themes (steps in admin)
- Theme settings (typography, colors)
- Shopify policies help (tools for policies)
- Shopify SEO help (descriptions and titles)
- Shopify domains help (how to connect a domain)
- Shopify web performance reports (Core Web Vitals)
- Shopify App Store (number of apps)
- Hiring a Shopify Partner (Partner Directory)
- Shopify agency cost guide (agency pricing ranges)
- Sidekick help (AI assistant)
- Shopify Summer '25 Editions (theme blocks and editor updates)
Frequently asked questions
Do I need to know how to code to design a Shopify store?
No. With the theme editor, you can add and arrange sections, change colors and fonts, and edit pages without using code. Custom features the editor does not offer require code or a Shopify Partner.
Should I use a free theme or pay for a premium one?
If your needs are simple, start with a free theme. Premium themes in the Shopify Theme Store are bought once, and Shopify's developer documentation sets the permitted price at $100 to $500.
Can I change my theme later without losing my products?
Yes. Add the new theme, preview it, and publish it once it looks right. Review your sections and theme settings in the new theme because each theme has its own layout choices.